
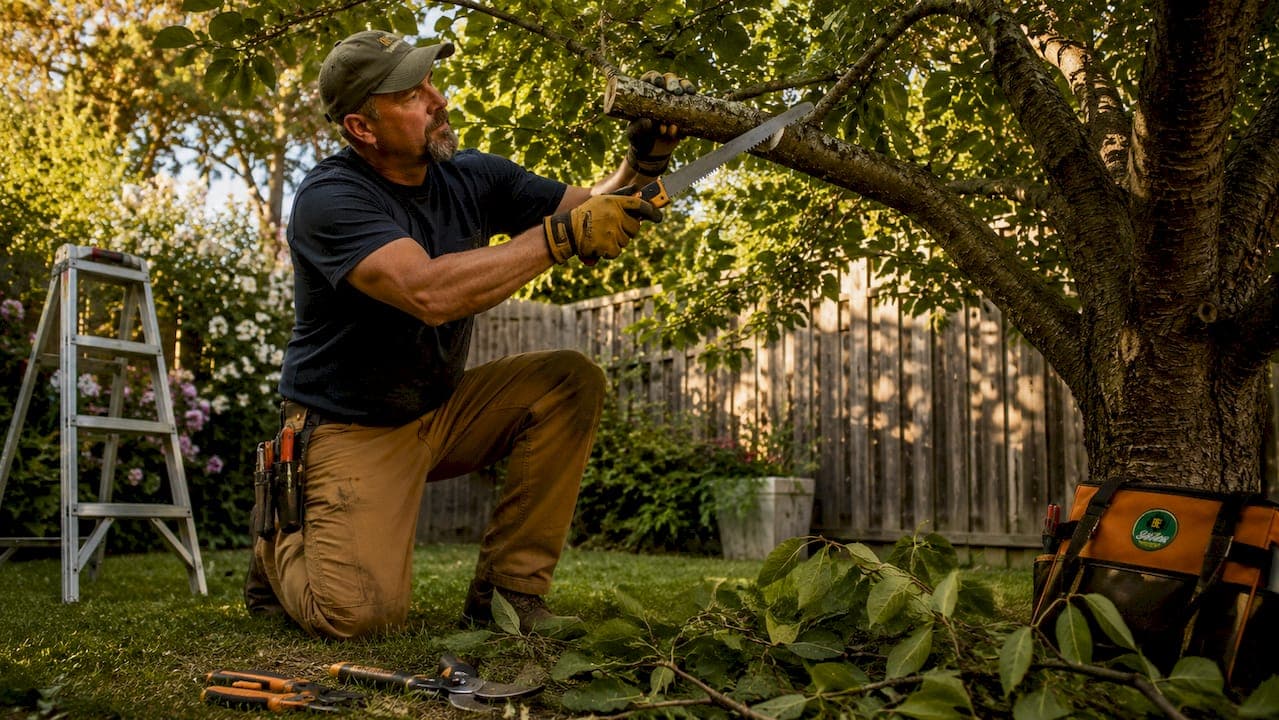
Safely trimming backyard tree branches means making precise cuts at the branch collar using the right tools for the branch size. Done correctly, pruning protects the tree's long-term health and keeps you out of the emergency room. Done wrong, it leaves wounds that invite rot, disease, and structural failure. This guide covers the proper timing, tools, step-by-step cutting technique, and the safety boundaries every homeowner needs to know before picking up a saw.
When and why should you trim tree branches?
Timing your cuts correctly is as important as making them correctly. The best pruning window for deciduous trees is the dormant season, december through february. Pruning during dormancy minimizes pest and disease risk because insects and fungal spores are less active. Certified Arborist Michael Schuck notes that species variations matter, so always confirm the dormancy window for your specific tree.
Evergreen oaks and redwoods follow a different schedule. Pruning them in late summer, august through september, reduces disease exposure by avoiding the spring period when they are most vulnerable.
Some branches cannot wait for the right season. Dead, diseased, damaged, or dangerous branches should be removed immediately regardless of the time of year. These are called the "4 Ds," and leaving them in place creates fall hazards and allows disease to spread into healthy wood.
The most common mistake homeowners make is removing too much at once. Limit canopy removal to no more than 15–25% of the total tree canopy in any single year. Removing more than that stresses the tree, triggers weak regrowth, and can cause sunburn damage to previously shaded bark.
Reasons to trim tree branches:
- Remove branches that are dead, diseased, damaged, or structurally dangerous
- Improve light and airflow through the canopy
- Reduce weight on limbs that overhang structures or walkways
- Shape young trees to develop strong branch structure early
- Clear branches that rub against each other and create wound entry points
What tools do you need to safely trim tree branches?
Choosing the right tool for the branch size is the single most important equipment decision you will make. Using an undersized tool forces you to twist and torque the branch, which tears bark and damages the tree. Using an oversized tool reduces your control and increases injury risk.
Tool selection by branch diameter
| Branch diameter | Recommended tool | Notes |
|---|---|---|
| Up to ¾ inch | Bypass hand pruners | Clean cut on live wood; avoid anvil pruners |
| ¾ to 1.5 inches | Loppers | Two-handed leverage; bypass style preferred |
| 1.75 inches and larger | Pruning saw | Manual or electric; safer than a chainsaw |
| High, out-of-reach branches | Pole pruner | Keeps feet on the ground; avoids ladder risk |
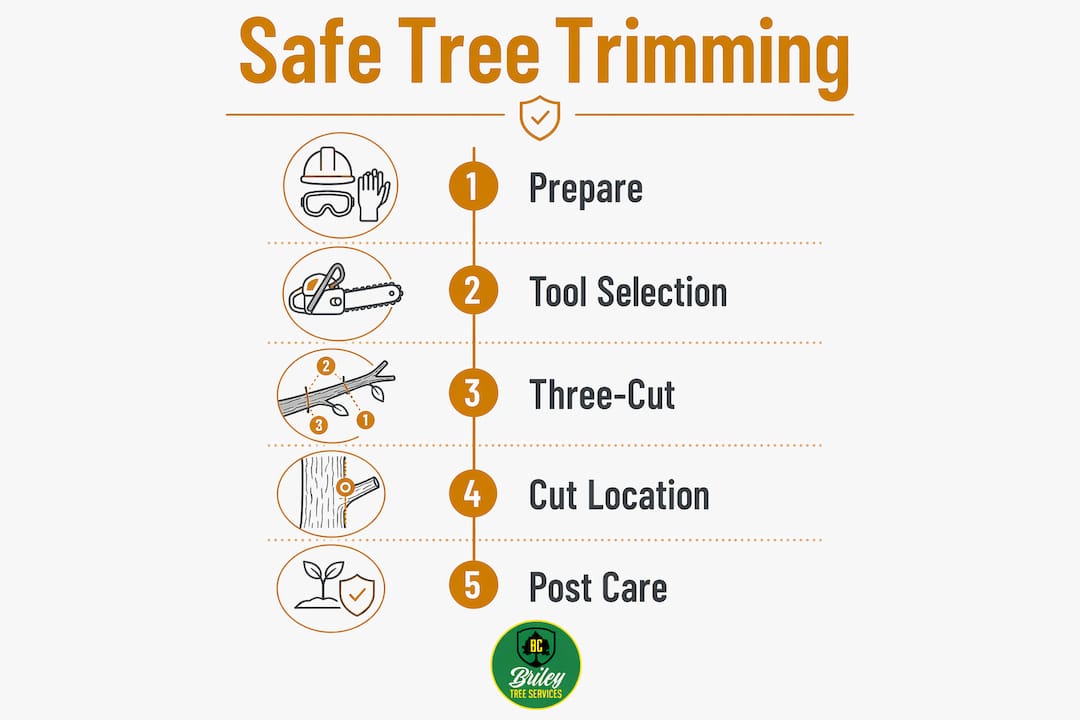
Tool selection by branch size follows a clear rule: match the cutting capacity to the diameter, and always choose bypass over anvil designs on living wood. Anvil pruners crush the stem rather than slicing it cleanly, which damages the tissue around the cut.
Chainsaws are risky for homeowners without professional training. A manual or electric pruning saw gives you more control and a much lower injury risk for standard backyard work.
Pro Tip: Quality pruning tools cost more upfront but deliver cleaner cuts and safer handling than budget alternatives. Sharp blades reduce the force you need to apply, which means less slipping and less fatigue.
Required safety gear before you start:
- Work gloves rated for cut resistance
- Safety glasses or a face shield
- Sturdy, closed-toe shoes with ankle support
- A hard hat when working under or near large branches
- Long sleeves and pants to protect against falling debris
How to safely cut branches using proper pruning techniques
The branch collar is the slightly swollen ring of tissue at the base of every branch where it meets the trunk or a larger limb. This collar contains the tree's natural defense zone. Cutting flush with the trunk removes the collar entirely, destroying the tree's ability to seal the wound. That open wound becomes a direct entry point for rot and disease.
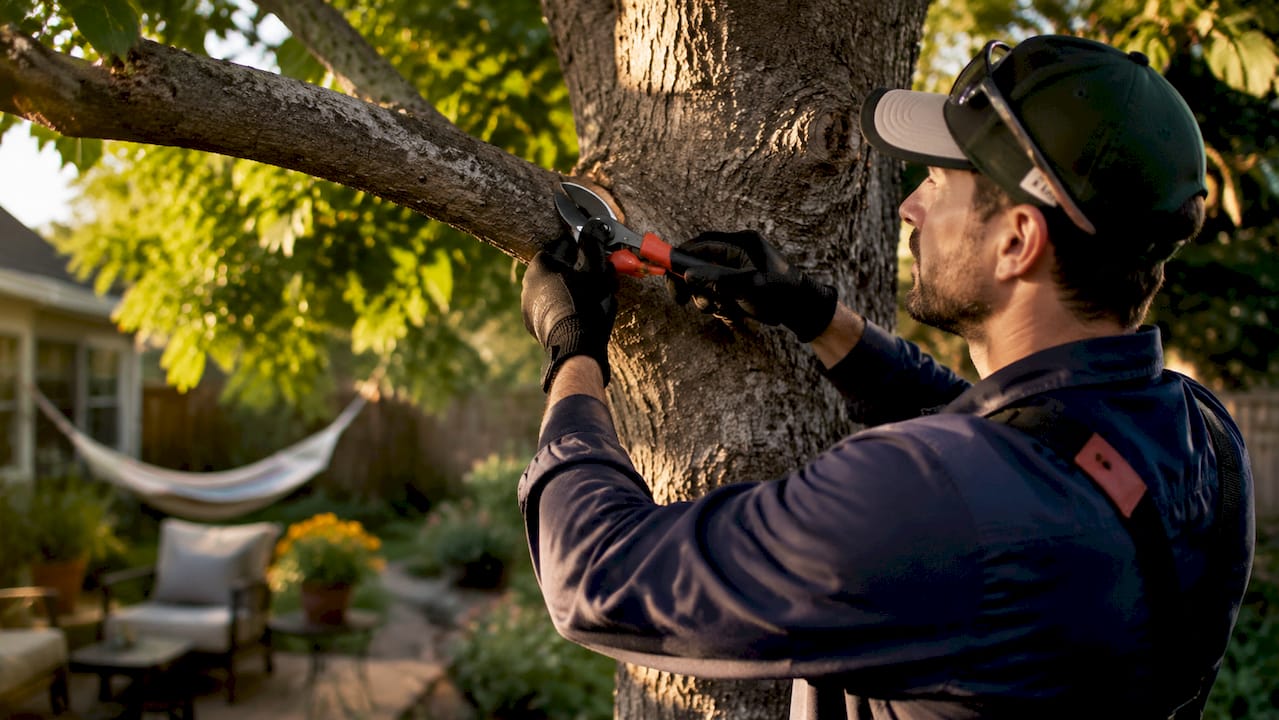
Leaving a long stub is equally damaging. A stub dies back toward the trunk, decays, and eventually creates the same rot problem. The correct cut lands just outside the branch collar, leaving the collar intact.
The three-cut method
The three-cut method is the standard technique for removing any branch thicker than about an inch. It prevents the branch from tearing a strip of bark down the trunk as it falls, which is the most common cause of serious trunk damage during DIY pruning.
- Undercut first. Make a cut from the bottom of the branch, about 12–18 inches from the trunk, cutting upward about one-quarter of the way through. This notch stops any downward tear.
- Top cut to remove the branch. Move 1–2 inches further out from the undercut and cut straight down from the top until the branch falls free. The undercut prevents the bark from stripping.
- Final collar cut. With the weight of the branch gone, make a clean final cut just outside the branch collar. Angle the cut slightly away from the trunk so water drains off rather than pooling against the wood.
The three-cut method controls branch weight and leverage during the cut, protecting the trunk from long-term damage. Skipping straight to a single cut near the collar almost always results in a tear because the falling branch weight rips the bark before the saw finishes the cut.
Pro Tip: Before making the final collar cut, look for the branch bark ridge. This is the raised, dark line of bark in the upper angle between the branch and the trunk. Your cut should angle away from this ridge, not through it.
Common mistakes that harm the tree:
- Flush cuts that remove the branch collar
- Stubs left too long that die back and decay
- Cutting through the branch bark ridge
- Using dull tools that crush rather than cut
- Removing more than 25% of the canopy in one season
Reduction cuts vs. removal cuts
A removal cut takes the entire branch back to its origin point. A reduction cut shortens a branch by cutting it back to a lateral branch that is at least one-third the diameter of the branch being removed. Reduction cuts are used to reduce the length or weight of a limb without removing it entirely. Both cut types still require you to identify and preserve the branch collar or the equivalent attachment point.
What are the safety limits for DIY tree trimming?
Personal safety is the boundary that separates a productive afternoon in the yard from a trip to the hospital. Gravity and poor positioning cause the majority of DIY tree trimming accidents. A branch that looks manageable from the ground behaves very differently once it starts to fall.
The clearest safety rule is this: if the job requires a ladder, call a professional. Ladder work near branches creates an unstable platform that shifts the moment a branch moves. Industrial safety experts draw a firm line at ladder use and proximity to power lines. Both scenarios require professional intervention, not extra caution.
Safety boundary: Never trim branches near power lines yourself. Contact your utility company or a licensed tree service. Electrocution risk exists even when lines appear insulated.
Safe working habits for every job:
- Clear the drop zone before you cut. Remove people, pets, and moveable objects from the area where the branch will fall.
- Never stand beneath a branch you are actively cutting. Step to the side.
- Secure your footing before every cut. Wet grass and uneven ground cause slips.
- Work with a partner when cutting branches larger than your arm span.
- Stop if a branch is pinching your saw blade. Pinching means the branch is under tension and will move unpredictably when freed.
For large trees that may need removal or branches that overhang your roof, a certified arborist has the training and equipment to assess the risk accurately. Recognizing that limit is not a failure. It is the right call.
How do you care for a tree after trimming?
Post-pruning care starts with what you do not do. Do not apply wound sealant or pruning paint to fresh cuts. Current arboricultural guidance confirms that sealants trap moisture and interfere with the tree's natural compartmentalization process. The branch collar, left intact, handles wound closure on its own.
Monitor fresh cuts over the following weeks. Healthy trees begin forming callus tissue around the wound within one growing season. Discoloration, soft wood, or fungal growth around a cut signals a problem that may need professional assessment.
Clean your pruning tools between trees and after finishing work. A diluted bleach solution or isopropyl alcohol wipe removes pathogens that can transfer from a diseased branch to a healthy tree on the next cut. This single habit prevents a large percentage of disease spread in residential yards.
Post-trimming checklist:
- Dispose of diseased branches in sealed bags, not your compost pile
- Sharpen and oil tools before storing them
- Check the tree for signs of stress or disease in the weeks after pruning
- Water the tree during dry spells to support recovery
- Avoid fertilizing immediately after heavy pruning, which pushes weak new growth
Key takeaways
Safely trimming backyard tree branches requires the right tool for the branch size, the three-cut method to prevent bark tearing, and a firm rule against ladder work or cuts near power lines.
| Point | Details |
|---|---|
| Prune at the right time | Trim deciduous trees december through february; remove the 4 Ds any time of year. |
| Match tool to branch size | Use bypass pruners under ¾ inch, loppers up to 1.5 inches, and a pruning saw for larger branches. |
| Use the three-cut method | Undercut first, top-cut to drop the branch, then finish with a clean collar cut. |
| Preserve the branch collar | Never cut flush with the trunk; the collar is the tree's wound-sealing defense zone. |
| Know your limits | Avoid ladder work and branches near power lines; call a certified arborist for those jobs. |
What I've learned from watching homeowners prune their own trees
Most DIY pruning injuries and tree damage come from two sources: the wrong tool and the wrong position. Homeowners reach for whatever is in the garage, which is often a dull handsaw or a chainsaw they are not comfortable using. Then they stand directly under the branch they are cutting. Both errors are completely avoidable.
The three-cut method feels like extra work the first time you use it. After you see what happens when a heavy branch tears a strip of bark down a trunk, you will never skip it again. That kind of wound can take a decade to close, if it closes at all. The extra two minutes for a proper undercut is not optional.
The other thing I see consistently is homeowners underestimating how much canopy they remove in a single session. Trimming feels productive. It is easy to keep going. But stripping more than 25% of a tree's canopy in one year forces the tree to push out weak, fast-growing water sprouts that create more problems than the original overgrowth. Set a limit before you start and stick to it.
Invest in a quality pair of bypass hand pruners and a sharp folding pruning saw. Those two tools handle the majority of backyard work safely. Save the pole pruner for high branches you cannot reach from the ground. And if the job involves a ladder or a line, put the tools down and make a call.
— Tatum
When Brileytreeservice is the right call
Brileytreeservice serves homeowners across Shreveport, Bossier City, and Northwest Louisiana with professional tree trimming services built around safety and tree health. When branches overhang your roof, sit near power lines, or require work above ground level, the risk exceeds what DIY tools and techniques can safely manage.
Brileytreeservice's experienced crew handles tree trimming, tree removal, stump grinding, and emergency storm cleanup for both residential and commercial properties. Every job includes proper cleanup and respect for your property. Contact Brileytreeservice today for a free estimate and get the job done safely, the first time.
FAQ
When is the best time to trim tree branches?
The best time to prune most deciduous trees is december through february during dormancy, which reduces pest and disease risk. Dead, diseased, damaged, or dangerous branches should be removed immediately, regardless of season.
How much of a tree can I safely remove at once?
Limit canopy removal to 15–25% of the total canopy in a single year. Removing more stresses the tree and triggers weak regrowth.
What is the three-cut method for pruning?
The three-cut method involves an undercut from below, a top cut to drop the branch, and a final clean cut just outside the branch collar. This sequence prevents bark from tearing down the trunk as the branch falls.
Do I need to seal cuts after pruning?
No. Current arboricultural guidance advises against applying wound sealant or pruning paint. The branch collar handles wound closure naturally, and sealants can trap moisture and slow healing.
When should I call a professional instead of pruning myself?
Call a professional when the job requires a ladder or involves branches near power lines. Both scenarios carry serious injury risk that exceeds safe DIY limits.